I have a love for all things primitive and my love for snowmen seems to overwhelm me at this time of year. I don't live in a part of the country that sees a lot of snowfall. We are lucky to get an inch every few years at this elevation. Somehow, in my warped mind I have romanticized snow and blizzards and such. Trust me... I know that those of you who endure sub-zero temperatures and "snow days" are thinking I'm crazy right about now. But I have found a way to combine the love of primitive and snowmen in one easy way.
I have been seeing these little fellows all over the place for a while now. Check out all these cuties.

Timothy from Primitive Home Decors


Hand Painted Snowman from HomeBodies on Etsy

Snowballs from ClaystCreations on Etsy
I mean, what's not to love? So I decided that I would give snowman making a try. Since I don't have snow, I'll use what I have. I have a primitive Raggedy Ann doll I picked up at Ruth's Room. Isn't she cute?

She became part of the inspiration of how I would make the snowmen.
First, I free-handed a basic rectangle with head that would become my snowman. This was done after lots of fuming and frustration trial and error.
I finally got the dimensions I wanted that would allow for a 1/4" to 1/2" seam allowance when I sewed him together. 7" body width, 8" tall from base to shoulders, 13" from base to top of head, and 4 1/2" width of the head.

I placed my pattern on a double thickness of a cotton duvet cover I had that was at the end of its current life. It had a nice flowered design woven in and I tea-dyed it to give it an aged look. That way I would have the front and back all cut at the same time. Then I cut snowmen till I had a blister. Just kidding, sort of.

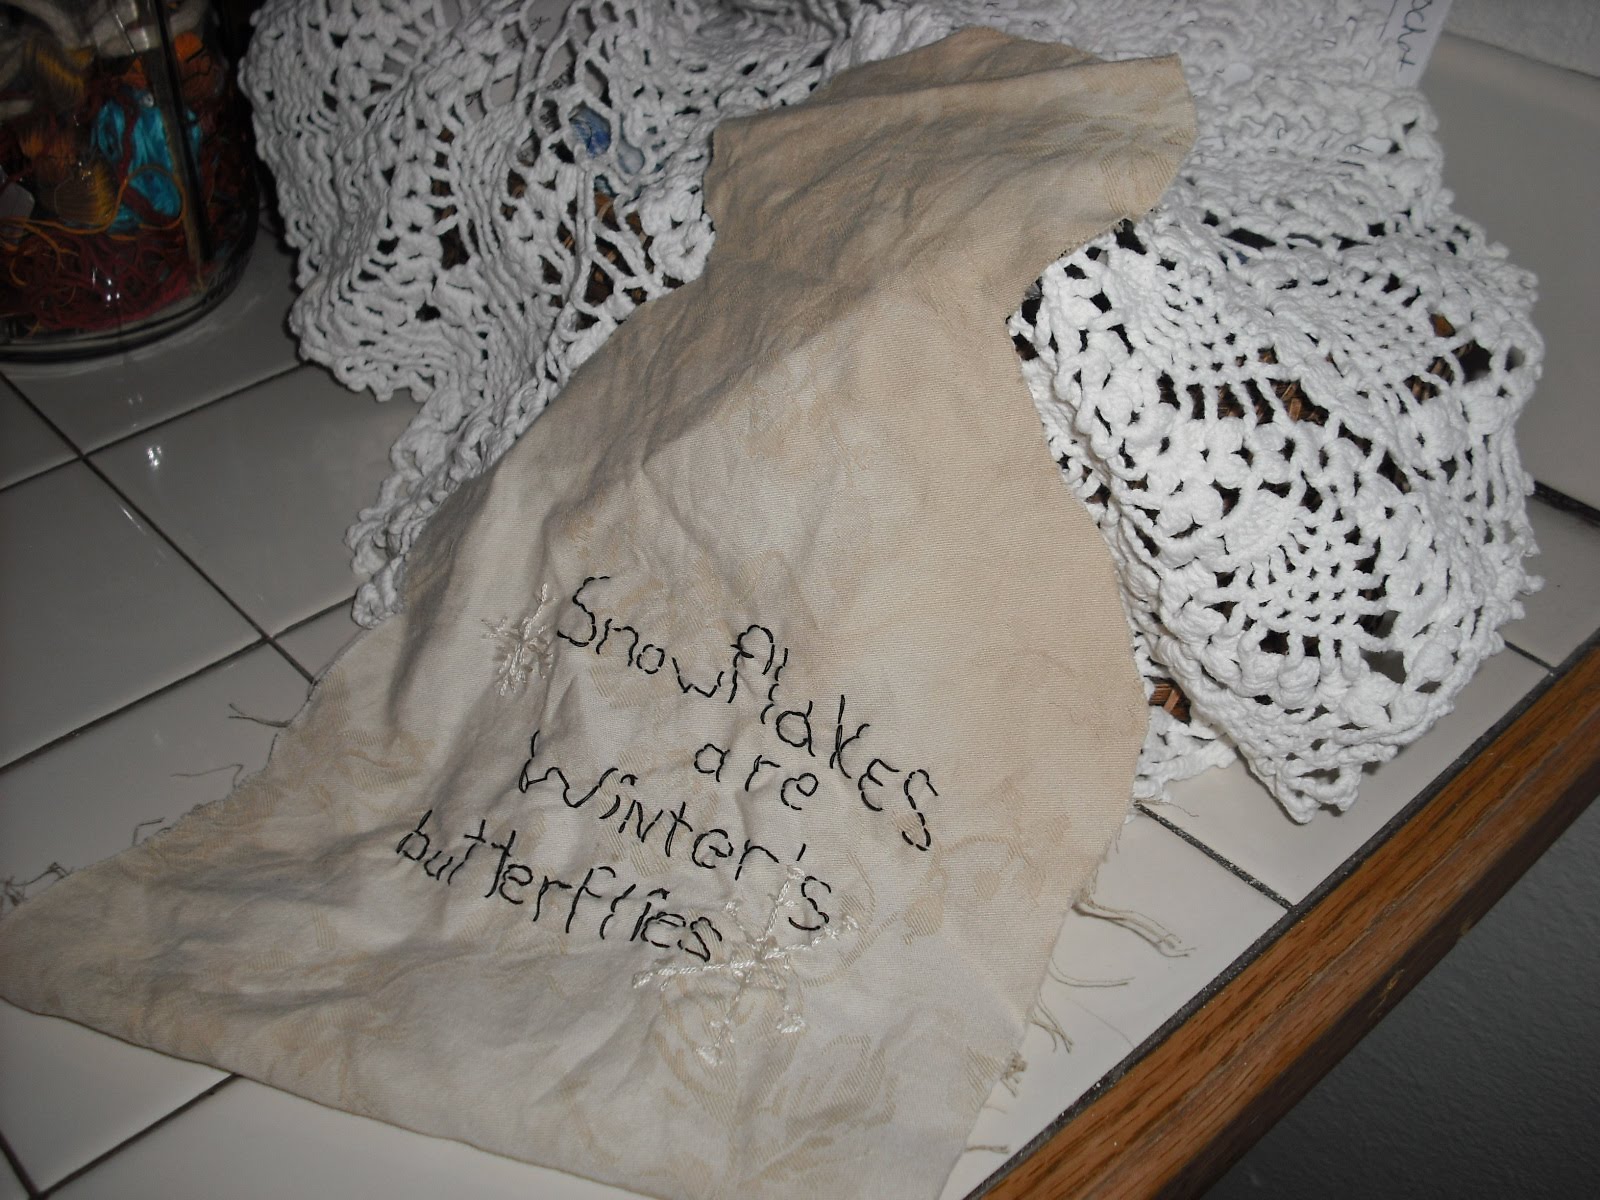
Next, I stitched sayings and designs on the body of the snowmen. Then, I picked out some nice orangey embroidery floss, some buttons, and some black thread.

Voila! My snowman now had character and personality! What a face!

I sewed the front (stitched on) piece to the back (plain) piece, right sides together, starting at the bottom. I sewed the "rice bag" right into the base so I wouldn't have to worry about it. I sewed all the way around leaving an opening from the "shoulders" up so he could be stuffed with some poly fill.
(sorry I lost the pic somehow)
I used a wooden skewer to poke out the corners and make sure he had plenty of stuffing. I then hand stitched his head closed and added the final touches; a hat and scarf I created from some felted wool scraps.

I'm so very pleased with the way all my snow friends turned out! What do you think? If you make one of your own, let me know. I would love to see how they come out. I ended up either selling or giving these all away. Thankfully, I still have some of the fabric left so I can make some of my own for next time the holidays roll around.
LET IT SNOW!